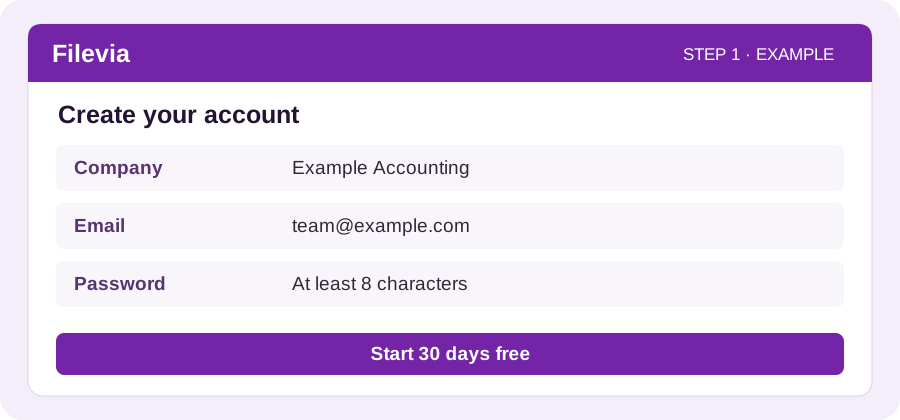
Create your account
Start with 30 days of Starter for free.
- Open Create an account. Enter your company name, email address and a password of at least eight characters.
- Read the terms and privacy policy, tick the agreement box and choose Start 30 days free.
- After registration you are signed in. Keep your login details somewhere safe.
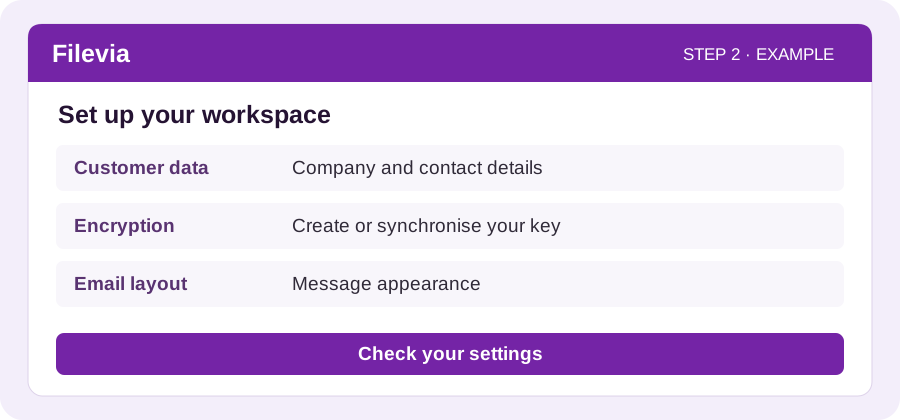
Set up your workspace
Check your company details and encryption.
- Go to Settings. Under Customer data, check the company name and notification contact address. Save your changes.
- Open Encryption and follow the instructions to create or synchronise your key if the app asks you to.
- Use Email layout to customise your messages.
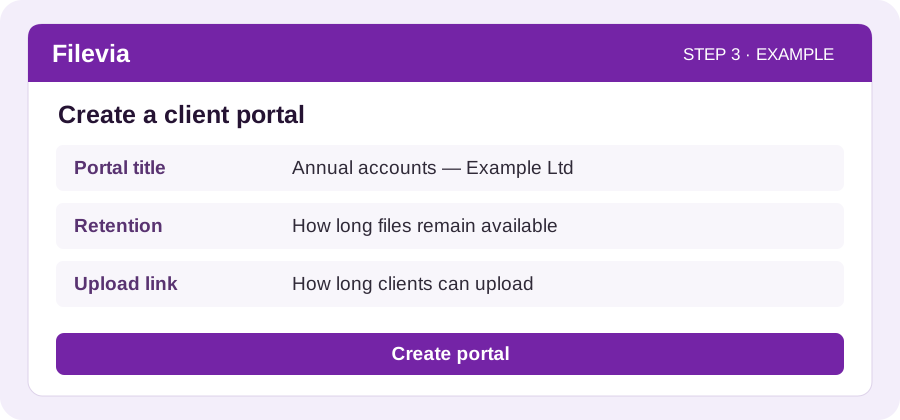
Create a client portal
A separate upload page for each client, case or project.
- Open Client portals and choose New portal.
- Enter a recognisable portal title and description, such as “Annual accounts — Example Ltd”.
- Check the storage region, maximum file size, retention period and upload-link validity. Optionally assign a Receiver for automatic delivery.
- Choose Create portal. The new portal appears in the overview.
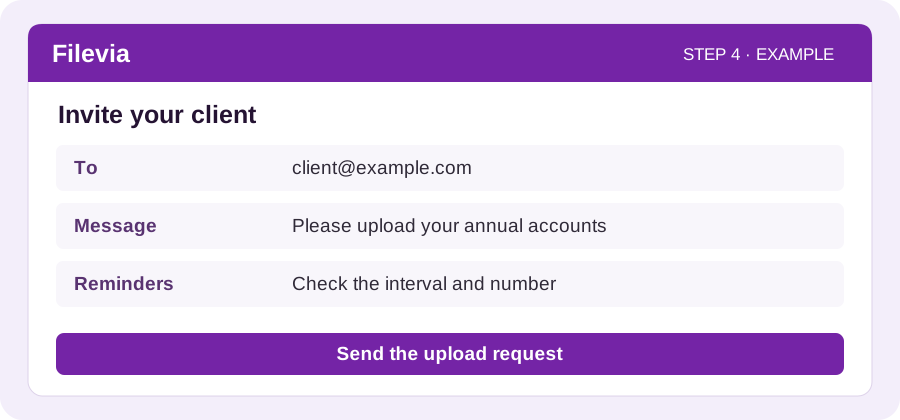
Invite your client
Share a portal link or email a personal upload request.
- Find the correct portal. Use the copy-link action if you want to share the link yourself.
- Use the email action for a personal request. Enter your client’s name and email address and explain which files you need.
- Check the link validity and any reminders before sending the invitation.
- Track emailed requests under Sent links. If a request has expired, you can send a new link.
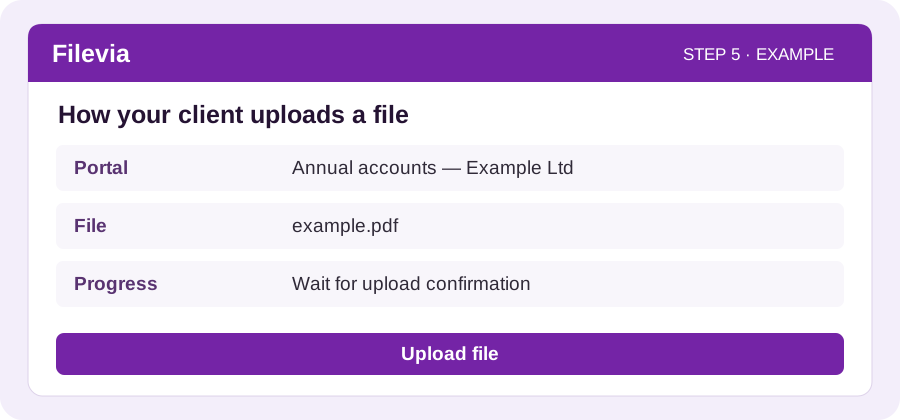
How your client uploads a file
This happens in your client’s browser.
- The client opens your upload link and checks the portal name and description.
- The client selects a file or drags it into the upload area. A general link may ask for a name and email address; a personal invitation already has these details linked.
- The client starts the upload and keeps the tab open until it is confirmed. An optional message can provide context.
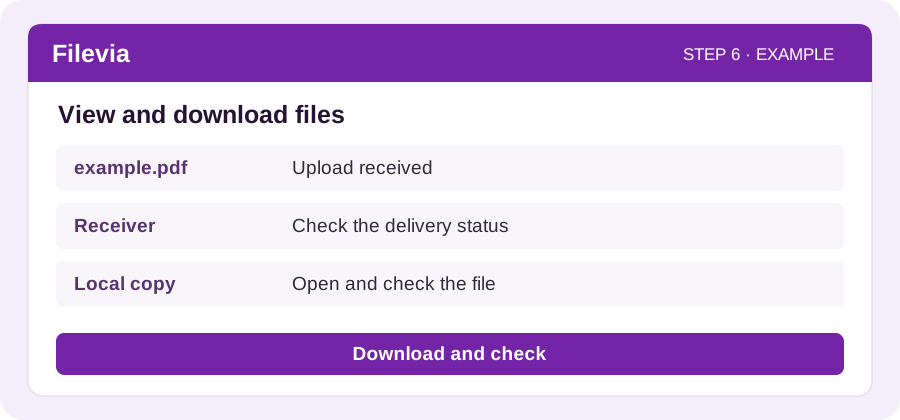
View and download files
Check receipt in your encrypted inbox.
- Open Encrypted inbox. Check the file name, sender and associated portal.
- Download the file using a browser with the correct key. Open the saved file to check its contents.
- Using a Receiver? Also check the delivery status and local destination folder.
- Use the audit log to look up which action happened and when.
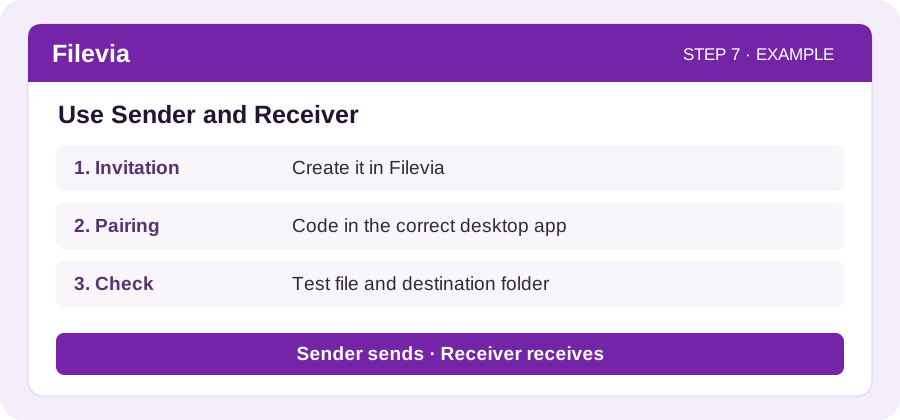
Use Sender and Receiver
Optional: send or automatically receive files on your computer.
- Receiver: create an invitation under Receivers in Filevia. Download the appropriate Windows or Mac app from the Filevia website.
- Pair the app using the one-time code and choose the local destination folder. Assign the Receiver to the correct portals and keep the computer and app online.
- Sender: create an invitation under Senders, install Filevia Sender and pair it using the code. You can then send files from the app.
- You can also send files from the web app: open the send page, choose files and recipients, check the options and send.
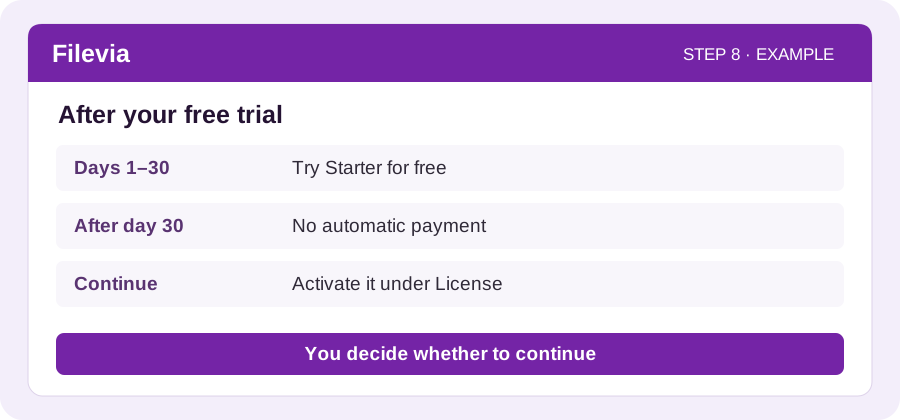
After your free trial
You choose whether to continue.
- Open License to see your trial status and end date.
- After 30 days, new uploads, sends and other new actions stop until you activate a paid subscription. Existing files remain available according to their retention period.
- Want to continue? Choose a subscription under License and complete payment through Stripe. Starter costs €19/month or €190/year.
Need a hand?
My client cannot upload
Check that the portal is active, the link is still valid and the file is within the configured limit. Also check that your trial or subscription is active. Replace an expired link with a new invitation.
I can see the file but cannot open it
Check that you are using the correct browser and account and that the encryption key is available. Look under Settings → Encryption. Do not simply create a replacement key: a new key cannot open older files.
My Receiver is not receiving files
Check that the computer is online, the Receiver is running and it is assigned to the correct portal. Then check the delivery status and local destination folder. Upload confirmation alone does not prove local receipt.
Do my clients need an account?
No. Clients can use their browser to submit files through your upload link.
Do I need to cancel after 30 days?
No. The free Starter trial does not automatically become paid. If you activate a paid subscription yourself, its terms apply.
Need help? Email info@filevia.nl. Include the screen you are using and the error message. Do not send passwords or pairing codes.
Start 30 days free